

👋🏻 Hello, Genesis#
In this tutorial, we will go through a basic example that loads a single Franka arm and then let it fall freely onto the floor, and use this example to illustrate the core steps for creating a simulation experiment in genesis, and some basic concepts:
import genesis as gs
gs.init(backend=gs.cpu)
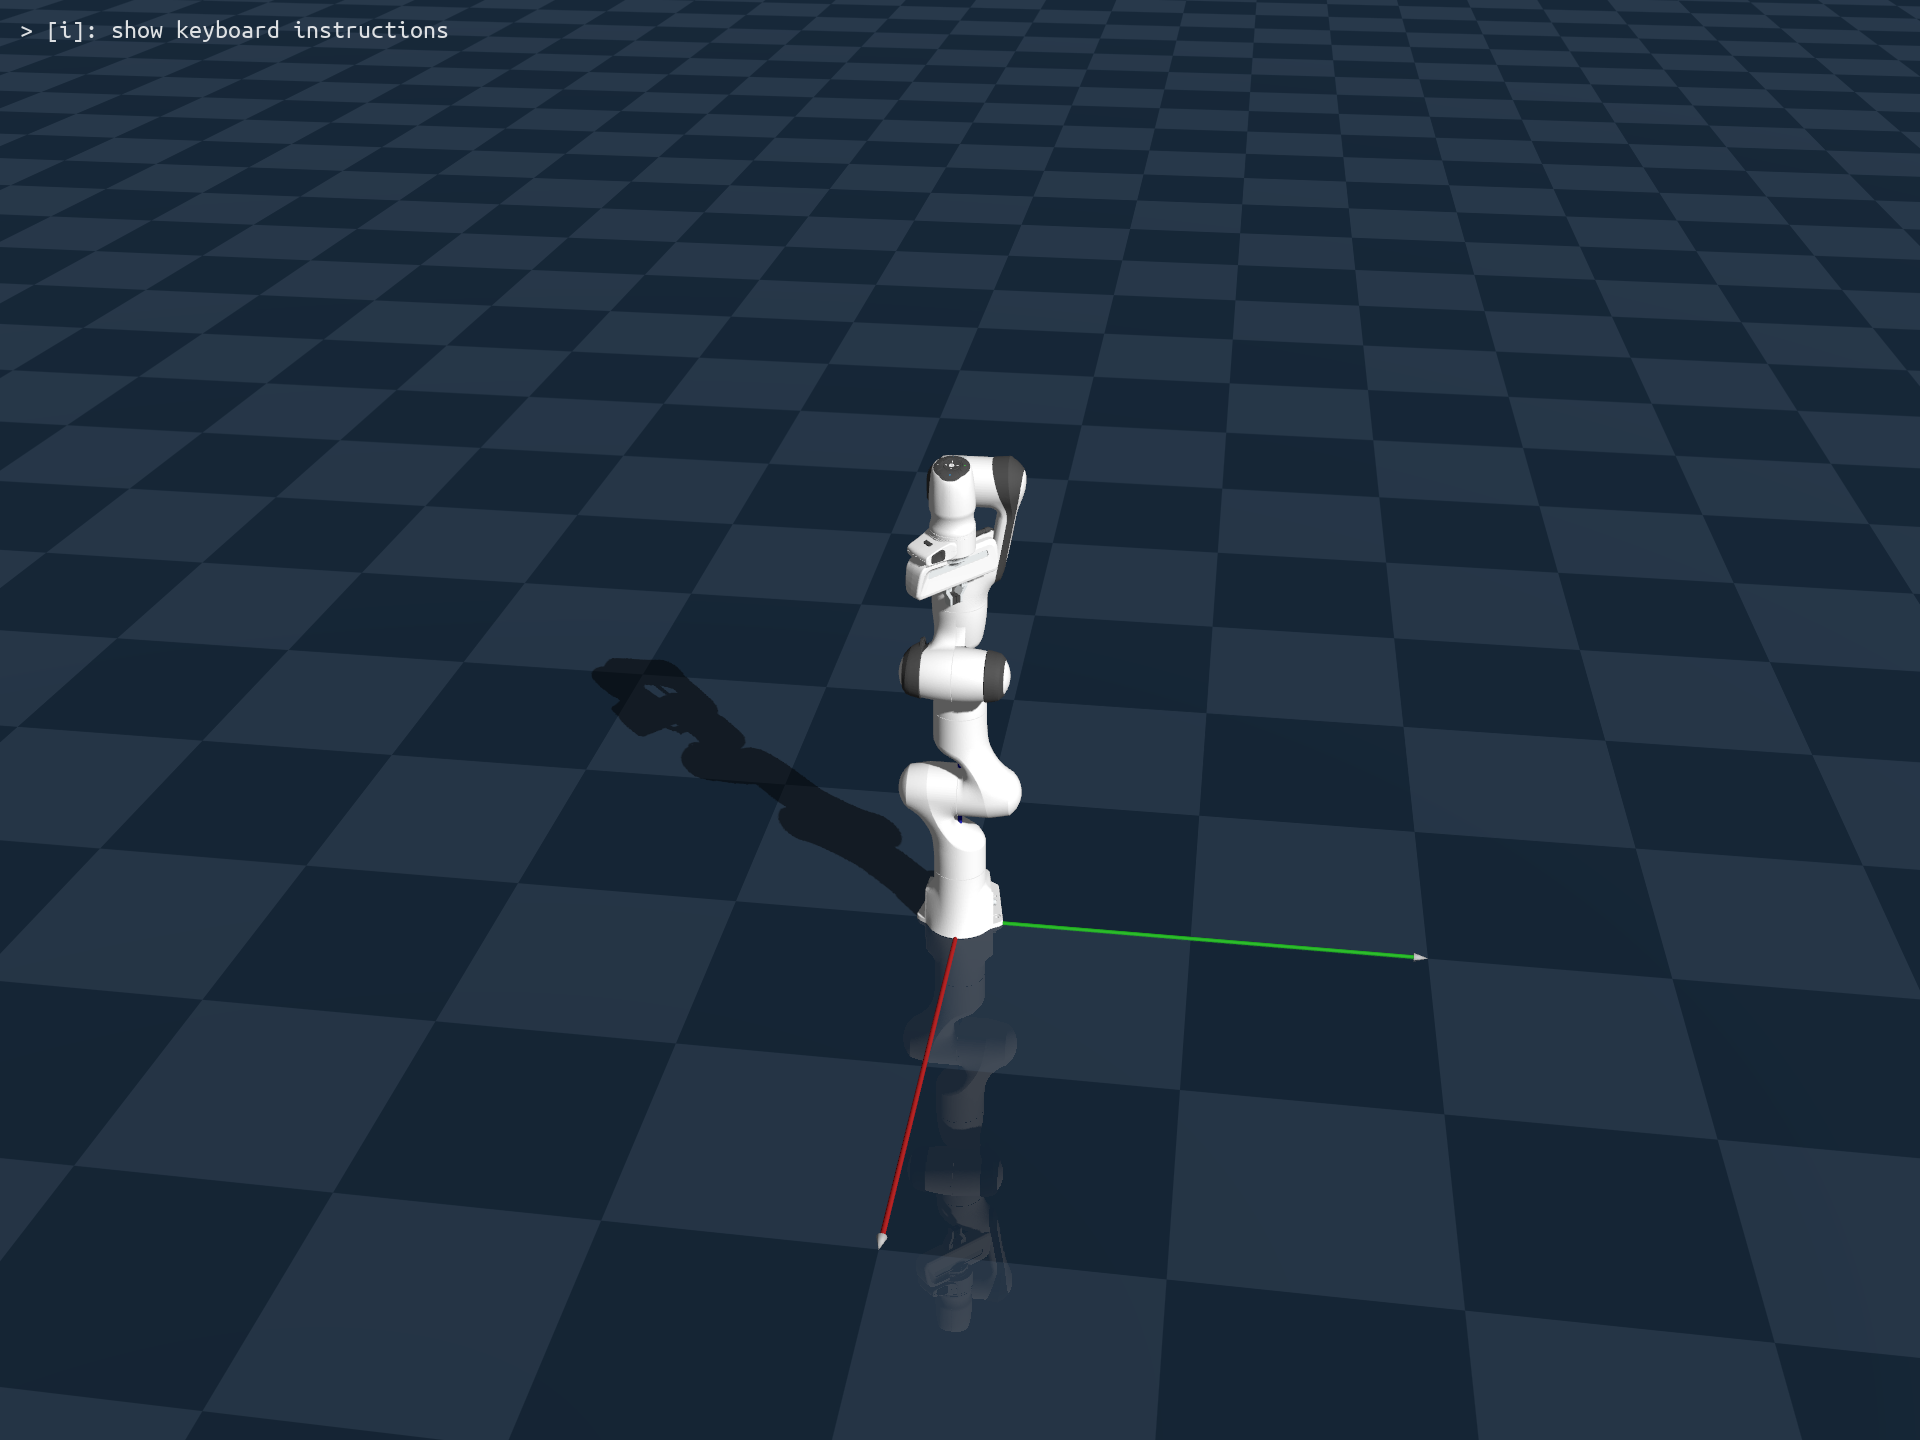
scene = gs.Scene(show_viewer=True)
plane = scene.add_entity(gs.morphs.Plane())
franka = scene.add_entity(
gs.morphs.MJCF(file='xml/franka_emika_panda/panda.xml'),
)
scene.build()
for i in range(1000):
scene.step()
This is the complete code script! Such an example only takes <10 lines of code, and already encapsulates all the necessary steps needed for creating a simulation experiment using genesis.
You can stop here and start exploring genesis if you want, but if you are patient enough, let’s go through it step by step together:
Initialization#
The first step is to import genesis and initialize it:
import genesis as gs
gs.init(backend=gs.cpu)
Backend device: Genesis is designed to be cross-platform, meaning that it supports various backend devices. Here we are using
gs.cpu. If you need GPU-accelerated parallel simulation, you can switch to other backends such asgs.cuda,gs.vulkanorgs.metal. You can also usegs.gpuas a shortcut, and genesis will select a backend based on your system (e.g.gs.cudaif CUDA is available, andgs.metalfor Apple Silicon devices).Precision level: By default, genesis uses f32 precision. You can change to f64 if you want a higher precision level by setting
precision='64'.Logging level: Once genesis is initialized, you will see logger output on your terminal detailing your system info and genesis-related info like its current version. You can suppress logger output by setting
logging_levelto'warning'.Color scheme: The default color theme used by genesis logger is optimized for dark background terminal, i.e.
theme='dark'. You can change to'light'if you are using a terminal with a light background, or simply use'dumb'if you are a black-and-white person.
A more detailed example of an gs.init() call would look like this:
gs.init(
    seed                = None,
    precision           = '32',
    debug               = False,
    eps                 = 1e-12,
    logging_level       = None,
    backend             = gs.gpu,
    theme               = 'dark',
    logger_verbose_time = False
)
Create a scene#
All the objects, robots, cameras, etc. in genesis are placed in a genesis Scene:
scene = gs.Scene()
A scene wraps a simulator object, which handles all the underlying physics solvers, and a visualizer object, which manages visualization-related concepts. For more details and APIs, see Scene.
When creating a scene, there’s various physics solver parameters you can configure. A slightly more complex example would be:
scene = gs.Scene(
    sim_options=gs.options.SimOptions(
        dt=0.01,
        gravity=(0, 0, -10.0),
    ),
    show_viewer=True,
    viewer_options=gs.options.ViewerOptions(
        camera_pos=(3.5, 0.0, 2.5),
        camera_lookat=(0.0, 0.0, 0.5),
        camera_fov=40,
    ),
)
This example sets simulation dt to be 0.01s for each step, configures gravity, and sets the initial camera pose for the interactive viewer.
Load objects into the scene#
In this example, we load one plane and one franka arm into the scene:
plane = scene.add_entity(gs.morphs.Plane())
franka = scene.add_entity(
    gs.morphs.MJCF(file='xml/franka_emika_panda/panda.xml'),
)
In genesis, all the objects and robots are represented as Entity. Genesis is designed to be fully object-oriented, so you will be able to interact with these entity objects through their methods directly, instead of using a handle or a global id assigned to them.
The first parameter for add_entity is morph. A morph in Genesis is a hybrid concept, encapsulating both the geometry and pose information of an entity. By using different morphs, you can instantiate genesis entities from shape primitives, meshes, URDF, MJCF, Terrain, or soft robot description files.
When creating the morph, you can additionally specify its position, orientation, size, etc. For orientation, a morph accepts either euler (scipy extrinsic x-y-z convention) or quat (w-x-y-z convention). One example would be:
franka = scene.add_entity(
    gs.morphs.MJCF(
        file  = 'xml/franka_emika_panda/panda.xml',
        pos   = (0, 0, 0),
        euler = (0, 0, 90), # we follow scipy's extrinsic x-y-z rotation convention, in degrees,
        # quat  = (1.0, 0.0, 0.0, 0.0), # we use w-x-y-z convention for quaternions,
        scale = 1.0,
    ),
)
We currently support different types of shape primitives including:
gs.morphs.Planegs.morphs.Boxgs.morphs.Cylindergs.morphs.Sphere
In addition, for training locomotion tasks, we support various types of built-in terrains as well as terrains initialized from user-given height maps via gs.morphs.Terrain, which we will cover in the following tutorials.
We support loading from external files with different formats including :
gs.morphs.MJCF: mujoco.xmlrobot configuration filesgs.morphs.URDF: robot description files that end with.urdf(Unified Robotics Description Format)gs.morphs.Mesh: non-articulated mesh assets, supporting extensions including:*.obj,*.ply,*.stl,*.glb,*.gltf,*.usd
When loading from external files, you need to specify the file location using the file parameter. When parsing this, we support both absolute and relative file path. Note that since genesis also comes with an internal asset directory (genesis/assets), so if a relative path is used, we search not only relative path with respect to your current working directory, but also under genesis/assets. Therefore, in this example, we will retrieve the franka model from: genesis/assets/xml/franka_emika_panda/panda.xml.
Note
During genesis’s development, we have tried to support as many file extensions as we can, including support for loading their associated textures for rendering. If you would like us to support any other file types not listed above, or if you find your texture is not being loaded or rendered correctly, feel free to submit a feature request!
If you want to load a Franka arm using an external URDF file, you can simply change the morph to gs.morphs.URDF(file='urdf/panda_bullet/panda.urdf', fixed=True). Note that unlike MJCF file which already specifies the joint type connecting the robot’s base link and the world, URDF file doesn’t come with this information. Therefore, by default, the base link of a URDF robot tree is disconnected from the world (or more precisely, connected to world via a free 6-dof joint). Therefore, we need to additionally specify fixed=True for morphs.URDF and morphs.Mesh if we want the base link to be fixed.
Build the scene and start simulating#
scene.build()
for i in range(1000):
    scene.step()
Now that everything has been added, we can start the simulation. Note that we now need to build the scene first by calling scene.build(). This is because genesis uses just-in-time (JIT) technology to compile GPU kernels on the fly for each run, so we need an explicit step to initiate this process, which puts everything in place, allocates device memory, and creates underlying data fields for simulation.
Once the scene is built, an interactive viewer will pop up to visualize the scene. The viewer comes with various keyboard shortcuts for video recording, screenshot, switching between different visualization modes, etc. We will discuss more details on visualization later in this tutorial.
Note
Kernel compilation and caching
Due to the nature of JIT, each time you create a scene with a new configuration (i.e. different robot types, different number of objects, etc. that involves size change of the internal data structure), genesis needs to re-compile the GPU kernels on the fly. Genesis supports auto-caching of compiled kernels: after the first run (as long as it exits normally or is killed via ctrl + c, not ctrl + \), if the scene configuration stays the same, we will load from cached kernels from previous runs to speed up the scene creation process.
We are actively working on optimizing this compilation step by adding techniques like parallel compilation and faster kernel serialization, so we expect to greatly speed up the speed of this step in future releases.
Now we have walked through the whole example. Next, let’s dive into genesis’s visualization system, and play with the viewer and add some cameras.