test
if (typeof lightGallery !== 'undefined') { var options = { selector: '.gallery-item' }; lightGallery(document.getElementsByClassName('.article-gallery')[0], options); }
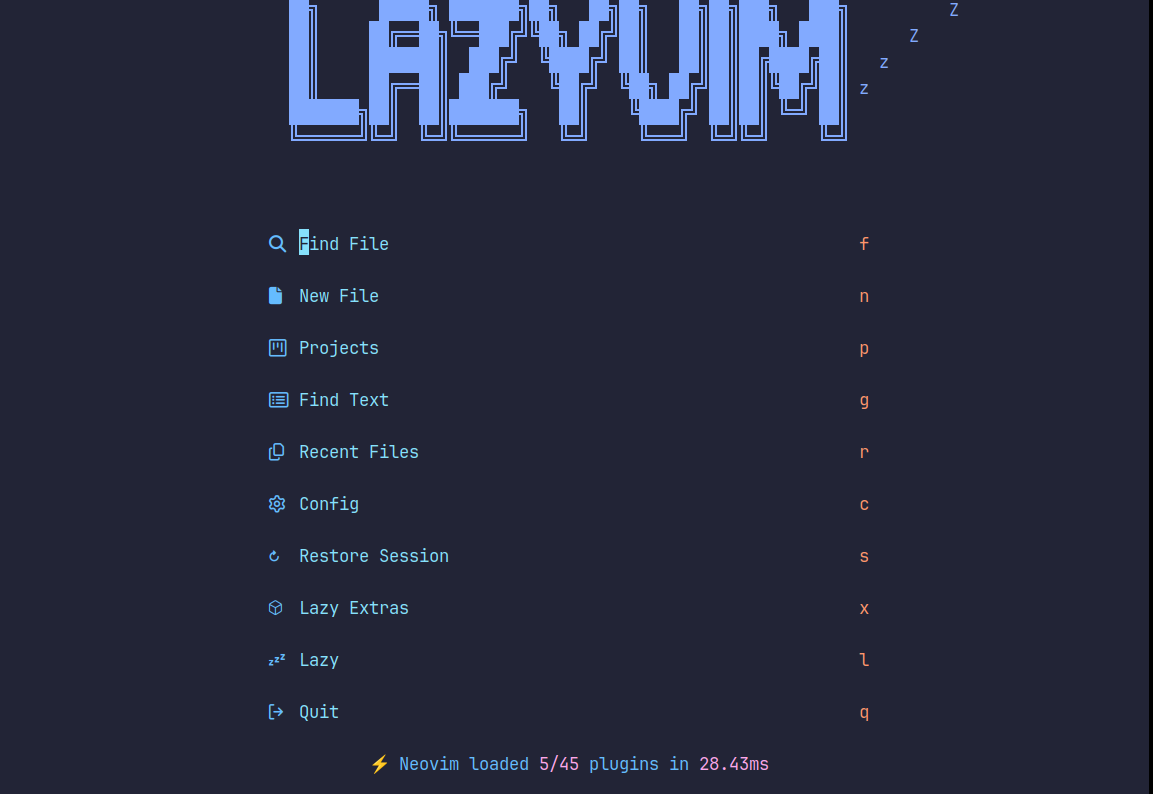
Lazyvim 配置中的 tree-sitter兼容问题解决
参考 https://github.com/LazyVim/LazyVim/issues/6793 https://github.com/LazyVim/LazyVim/issues/4485 随着lazyvim和tree-sitter的更新,lazyvim自动拉取的tree-sitter版本过新无法启动 会报类似下面的错误 1[nvim-treesitter/install/c] error: Error during "tree-sitter build": /home/li/.nvm/versions/node/v24.12.0/lib/node_modules/tree-sitter-cli/tree-sitter: /lib/x86_64-linux-gnu/libc.so.6: version `GLIBC_2.39' not found (required by /home/li/.nvm/versions/node/v24.12.0/lib/node_modules/tree-sitter-cli/tree-sitter) 这...
collection
https://github.com/KumarRobotics/kr_mav_control https://github.com/google-deepmind/mujoco_menagerie.git if (typeof lightGallery !== 'undefined') { var options = { selector: '.gallery-item' }; lightGallery(document.getElementsByClassName('.article-gallery')[0], options); }
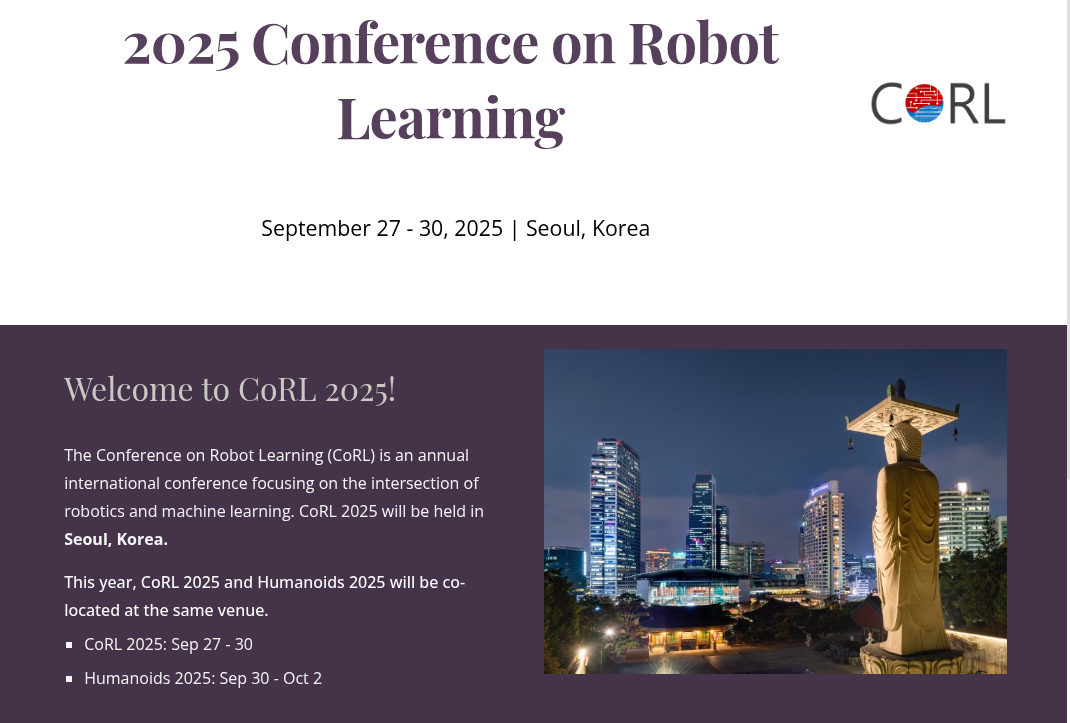
CoRL2025论文集
CoRL 2025 Paper ListThis repository compiles information about accepted papers for CoRL 2025.感谢repo主:https://github.com/shu1ong/CORL2025-Paper-List.git下载链接:链接: https://pan.baidu.com/s/163ZqVv5WGBLHxNlO_l8CWQ 提取码: enim–来自百度网盘超级会员v5的分享 Table of Contents Accepted Papers How to Cite Contributing License Accepted PapersBelow is a list of accepted papers for CoRL 2025, sorted alphabetically by title. Accepted Papers (A-Z) 3DS-VLA: A 3D Spatial-Aware Vision Language Action Model for Robust Multi-...
px4 ctrl for ROS2
if (typeof lightGallery !== 'undefined') { var options = { selector: '.gallery-item' }; lightGallery(document.getElementsByClassName('.article-gallery')[0], options); }
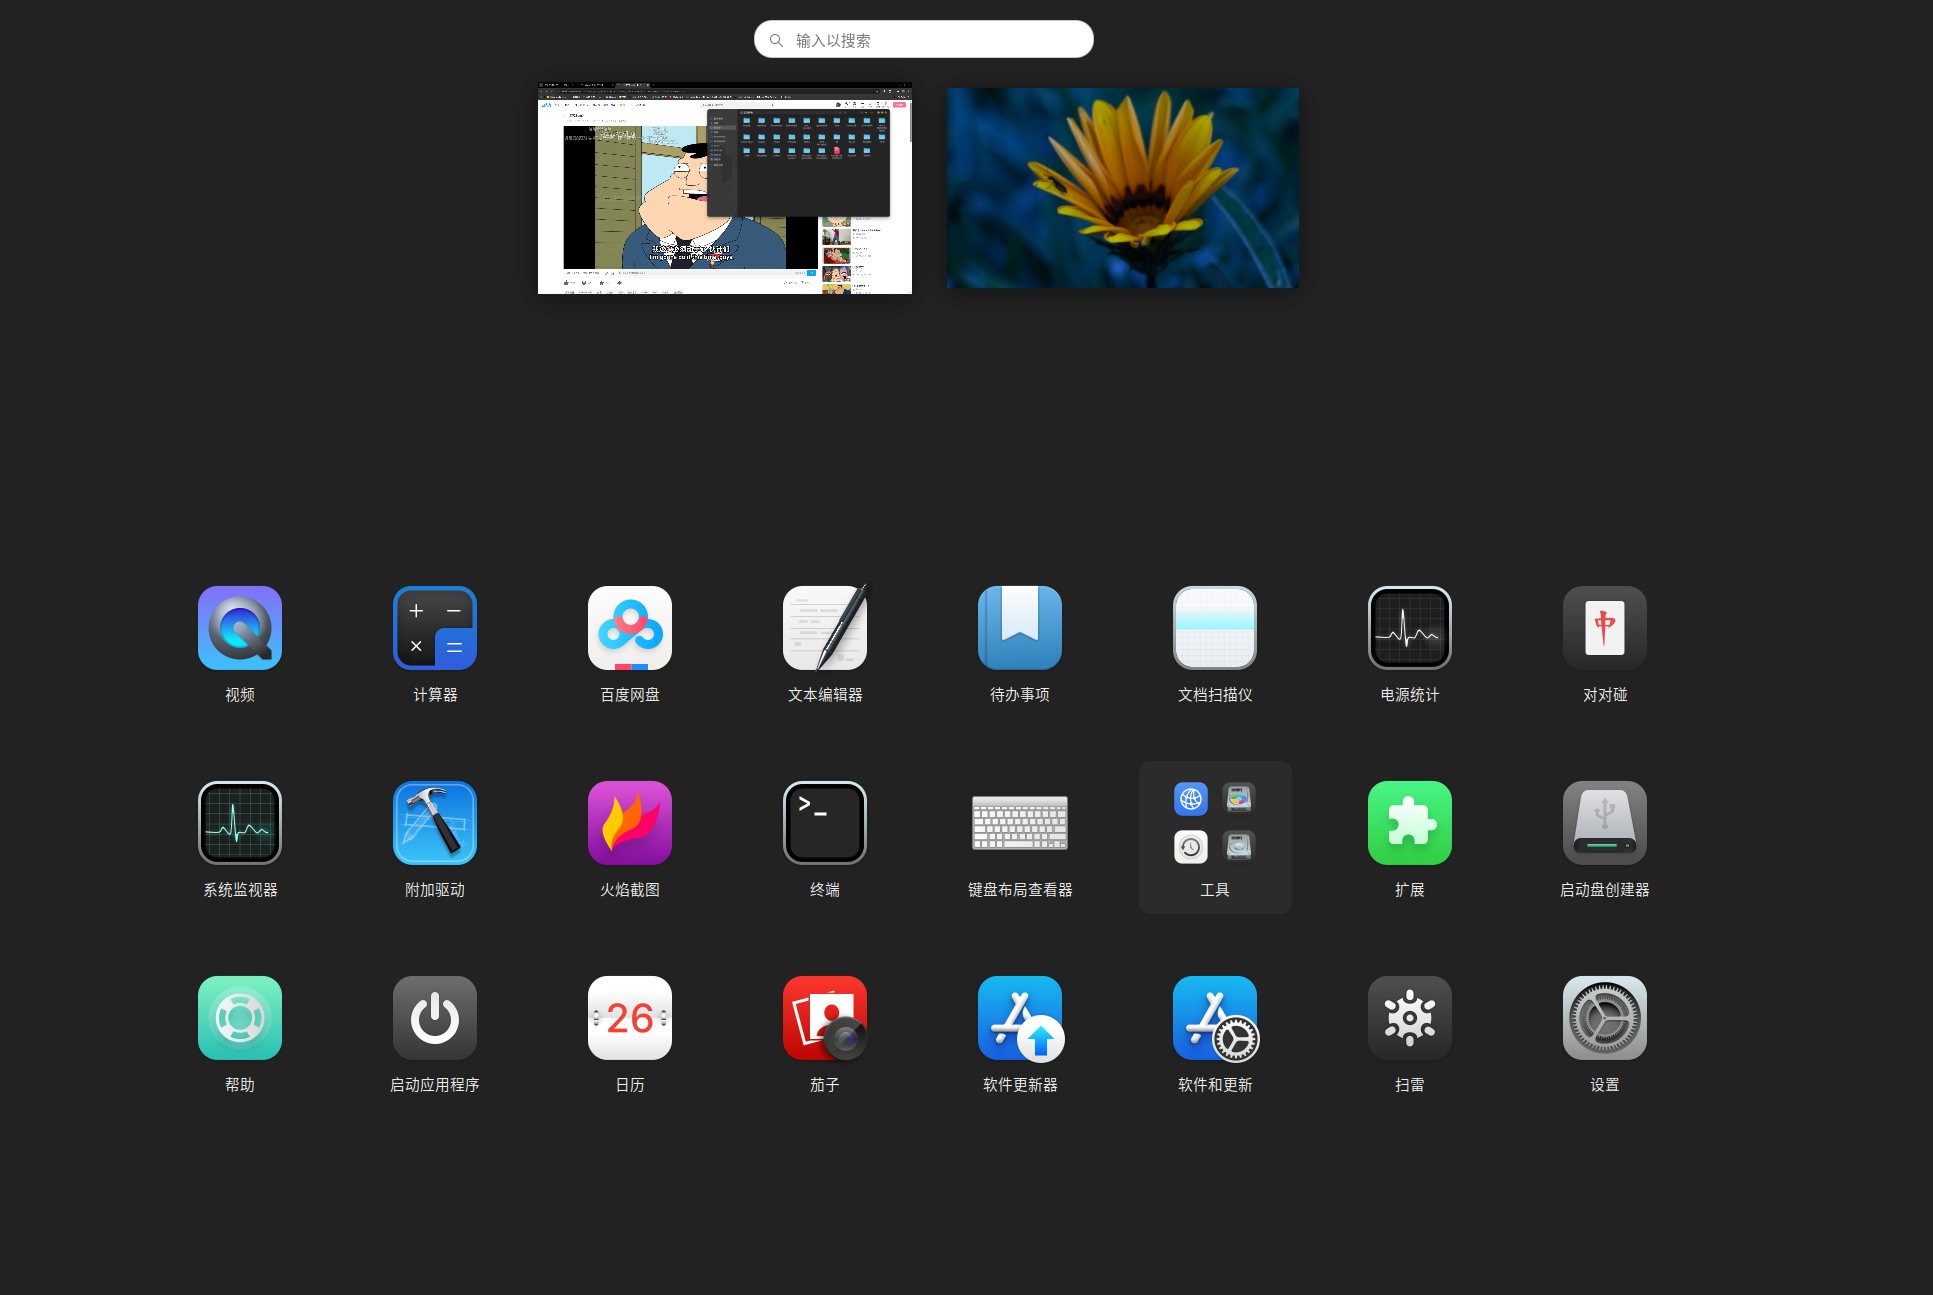
ubuntu软件推荐以及美化建议
macos 风格美化安装必要的工具和依赖12sudo apt updatesudo apt install -y gnome-tweaks gnome-shell-extensions sassc libglib2.0-dev-bin libxml2-utils 安装 WhiteSur 主题123456# 下载主题仓库git clone https://github.com/vinceliuice/WhiteSur-gtk-theme.git --depth=1cd WhiteSur-gtk-theme# 执行安装脚本(默认安装深色+浅色主题)./install.sh 12345# whitesur 图标主题cd ~git clone https://github.com/vinceliuice/WhiteSur-icon-theme.gitcd WhiteSur-icon-theme./install.sh 12345# 光标cd ~git clone https://github.com/vinceliuice/WhiteSur-cursors.gitcd WhiteSu...
tmux常用命令
Tmux 常用命令合集1 会话(session)——“进/出/删/切”1234567891011121314151617# 新建默认会话tmux# 新建命名会话tmux new -s demo# 断开会话(保持后台运行)# 快捷键:Ctrl+b d# 查看所有会话tmux ls# 重接指定会话tmux a -t demo # a 是 attach 的简写# 强制销毁会话tmux kill-session -t demo 2 窗口(window)——“标签页”1234567891011121314# 新建窗口# 快捷键:Ctrl+b c# 切换窗口# 快捷键:Ctrl+b p / n / 0~9# 重命名当前窗口# 快捷键:Ctrl+b ,# 关闭当前窗口# 快捷键:Ctrl+b &# 查看窗口列表(可搜索)# 快捷键:Ctrl+b w 3 窗格(pane)——“分屏”1234567891011121314151617181920212223# 左右分屏# 快捷键:Ctrl+b %# 上下分屏# 快捷键:Ct...

ros2-px4联合仿真环境配置
ROS2 安装以及相关环境配置推荐使用鱼香ROS一键安装 1wget http://fishros.com/install -O fishros && . fishros 按照文字提示操作 1234sudo apt install python3-pipsudo apt install gitpip3 install empy==3.3.4 # 固定empy版本为3.3.4 PX4环境配置下载PX4代码及其子模块 1git clone https://github.com/PX4/PX4-Autopilot.git --recursive 再次确认是否下载完全 123cd PX4-Autopilotgit submodule update --init –recursive 安装完成后可以查看飞控代码版本 12cd PX4-Autopilot/git describe --tags 我选择切换到了1.16稳定版来开发,这个可选可不选 123git fetch --tagsgit checkout v1.16.0git submodule update --i...
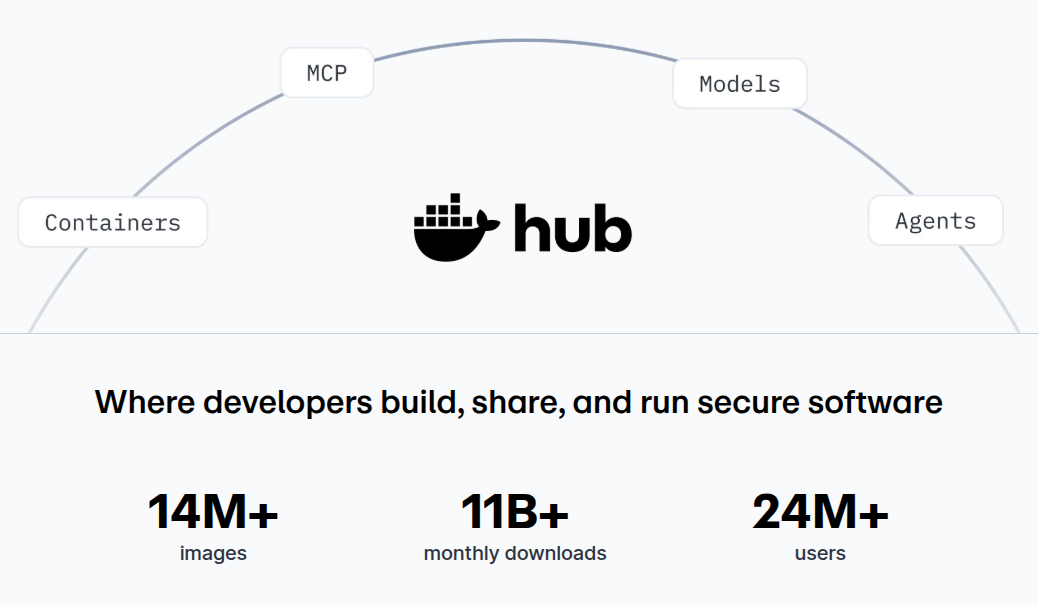
ubuntu22.04安装docker
docker 安装首先卸载系统默认的的docker 1sudo apt remove docker docker-engine docker.io containerd runc 安装必要的库 1sudo apt install apt-transport-https ca-certificates curl software-properties-common gnupg lsb-release 1234567891011# 阿里源(推荐使用阿里的gpg KEY)curl -fsSL https://mirrors.aliyun.com/docker-ce/linux/ubuntu/gpg | sudo gpg --dearmor -o /usr/share/keyrings/docker-archive-keyring.gpg#添加 apt 源:#阿里apt源echo "deb [arch=$(dpkg --print-architecture) signed-by=/usr/share/keyrings/docker-archive-keyring.gpg] ...
ubuntu platformio问题
在使用ubuntu配置vscode 的 platformio插件时,常常需要魔法上网来下载依赖 我们可以直接配置好vscode的proxy来下载,也可以用手机热点来下载 然而废了大半天劲配置好网络之后我的platformio却连不上板子 1lsusb 12345678910111213li@li-MS-7C94:~$ lsusbBus 004 Device 001: ID 1d6b:0003 Linux Foundation 3.0 root hubBus 003 Device 001: ID 1d6b:0002 Linux Foundation 2.0 root hubBus 002 Device 001: ID 1d6b:0003 Linux Foundation 3.0 root hubBus 001 Device 008: ID 8087:0032 Intel Corp. AX210 BluetoothBus 001 Device 006: ID 1462:7c94 Micro Star International MYSTIC LIGHT Bus 001 Device...